

Generating text is one of the most frequently used functions in Design Space. Whether it’s for cutting out of vinyl or cardstock, drawing with a pen, or using the Foil Transfer Tool, it’s easy to generate beautiful text in just a few simple steps.
Entering Text
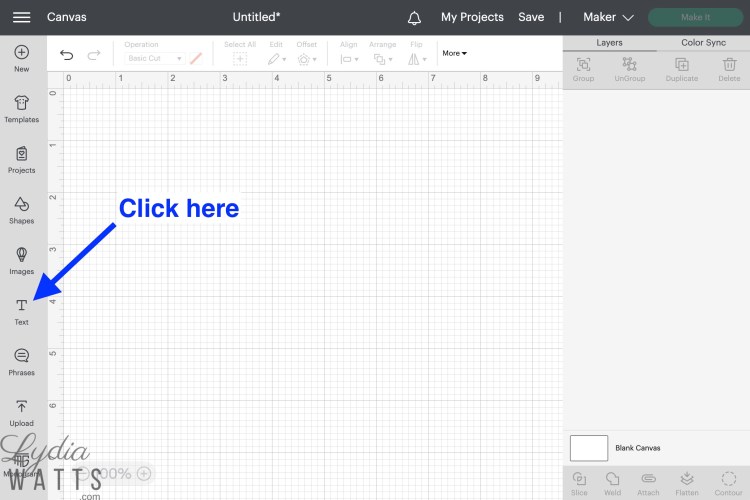
Click on the text icon on the left side of the design screen.
The text box that pops up will be selected. Start typing text. The word “Text” will be replaced with what you type.


Now that the text has been entered, it can be sized, curved, and offset. The font can also be changed.
Sizing and Rotating Text
Click off the text box (anywhere on the canvas), and the bounding box will appear.

To adjust the size of the text, drag one of the corners of the bounding box. To rotate the text box, hover at the corner until the curve arrow appears. Click and drag to adjust the angle.
Clicking and dragging the squares on the sides of the text box will change the size of the box. The text will automatically adjust to fit the size of the box.
Curving Text
To curve text, select the text to make the curve button active. Note that text cannot be curved if it has been ungrouped or welded.


Moving the slider to the right will curve the ends of the text down. Also, entering a positive diameter number will achieve the same thing.
Sliding the slider to the left or entering a negative number will curve the ends of the text upwards.

Changing the Font
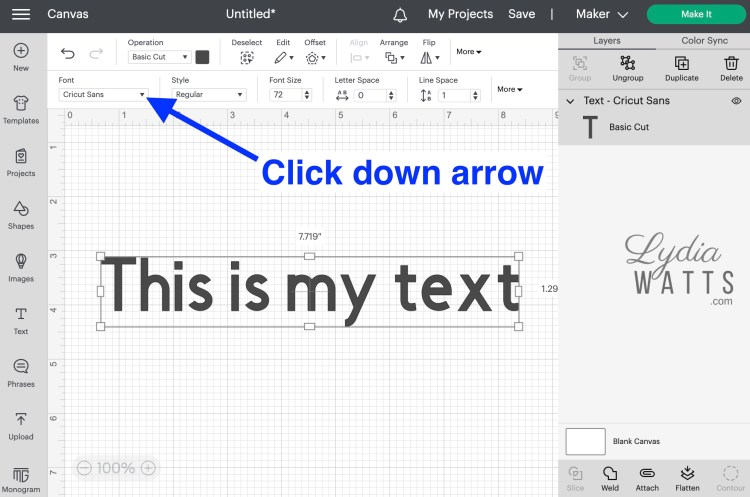
To select a font, click the down arrow on the font drop down.
Select Cricut or System fonts. Cricut fonts in Design Space are available for purchase or as part of the Cricut Access subscription. If the Kerned box is checked, you will only see fonts that don’t need the letter spacing adjusted. If the box is unchecked, you will see all the available Cricut fonts.


System fonts are the fonts that are installed on your computer or device. These fonts can be used in Design Space with no cost.
To bookmark your favorite fonts, click the ribbon on the far right. Bookmarked fonts will be shown when the Bookmarks tab is selected.

Using the Offset Function

To create an offset for text, select the text box and click the offset button. Either move the slider or enter a number for the size of the offset. I usually enter 0.15.
To change the color of the offset, select the offset layer and click the color box in the edit bar.

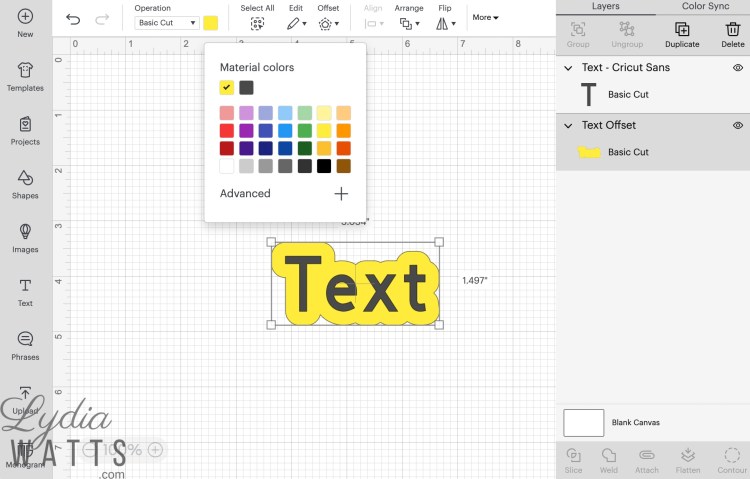
Select one of the colors in the drop down or click Advanced to customize the color or enter a hex code.
This is optional, but I find it helpful to group the the text and the offset to make moving on the canvas screen and sizing easier. Select both layers and click Group.

